A window box is a great project to bring festive colour and warmth to your garden. A long-lasting window box can be adjusted season by season and in this guide, we’ll share how to create one that thrives during the winter months.
Gather Your Materials
You will need:
- A weather-resistant window box or container. Wooden, terracotta and plastic are all good options. You should ensure the container has plenty of drainage holes in the bottom to prevent waterlogging. Choose a container that’s festive in colour, or stick to a versatile colour so that it can be used all year round.
- Winter potting compost.
- A trowel.
- Seasonal accessories like ribbon, artificial snow spray or fairy lights. (Optional)
After you’ve picked your materials, choose where you’d like your window box to go and clear the area. Consider how the window box will look from the outside as well as the inside of your house – you may want to be able to see it from inside but it shouldn’t obscure the window too much. The optimal height is around six inches lower than your window frame.
Select Your Plants
The next step is to choose some winter-hardy plants to endure the cold:
Evergreens
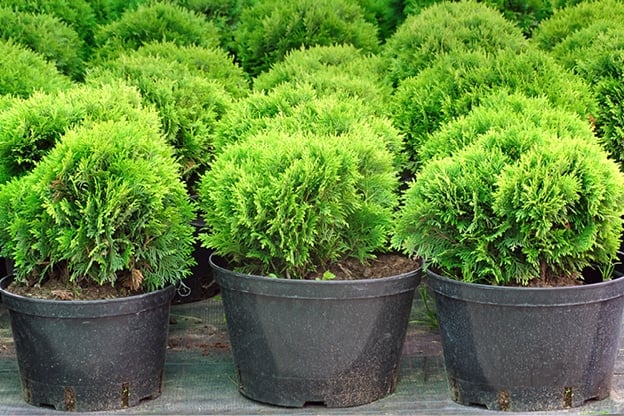
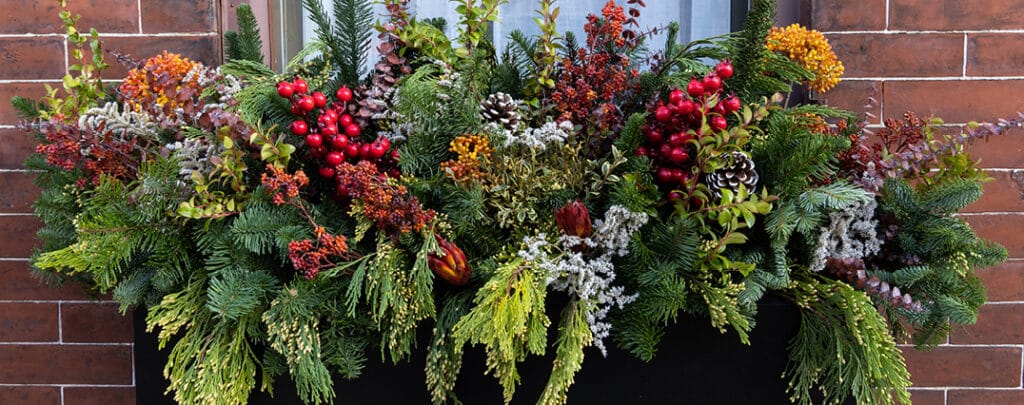
Opt for evergreen ferns like dwarf conifers, ivy, and holly for year-round structure. Add shrubs like cotoneaster franchetii or viburnum tinus for vibrant bursts of colour.
Winter-flowering plant
Consider adding flowers such as snowdrops, pansies and classic poinsettias for a seasonal display. Add festive flair and winter love with some mistletoe!
Seasonal foliage
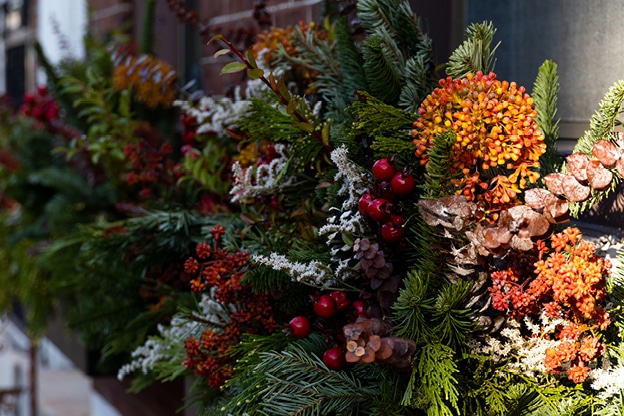
Elevate your window box with seasonal foliage. Acorns, pinecones and sprigs are great choices for adding texture to your display. Viburnum davidii and silver brunia berries also work well.
If you’re looking for budget-friendly options, try foraging some of your own foliage and evergreens. You can also pick artificial flowers that can be reused again next year.
Plant Your Florals
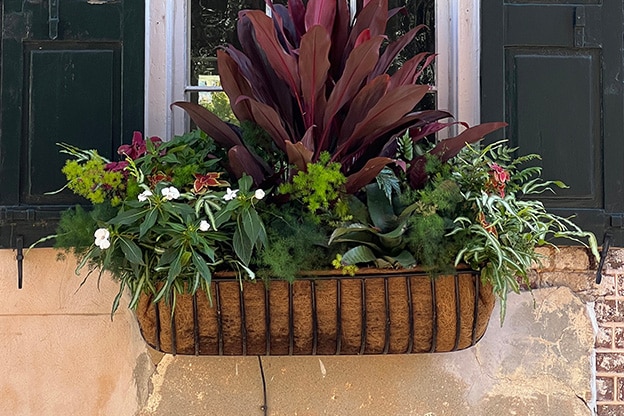
Once you’ve picked a lively mix of evergreens, plants and foliage it’s time to arrange and plant them into your window box. As a general rule of thumb, you should use plants of varying heights and textures. Try planting your tallest plants in the centre or towards the back of the box, with shorter ones towards the front. Start with your evergreens and greenery, before adding in the bolder, colourful plants.
Add Seasonal Accents

Once everything is planted snugly (winter plants won’t grow in the cold months, so you should over-stuff your window box if anything), it’s time to add all the seasonal accents. Here is your chance to get creative – add pine cones, birch branches or festive berries for those seasonal touches. You could also weave in some battery-operated fairy lights – just make sure they’re suitable for outdoor use.
Looking After Your Winter Flower Box
Even in winter, plants need to stay hydrated! Water your florals when the soil feels dry and avoid watering when the temperature drops too low. Watering in the morning is advised, giving plants time to process the water throughout the day and before the colder temperatures hit at night.
Shield your plants against frost by wrapping your window box in horticultural fleece, bubble wrap or even blankets on particularly icy days.